What follows below is my procedure and I am sure there are different processes and products that can be used. This is what works for me and may or may not work for you.

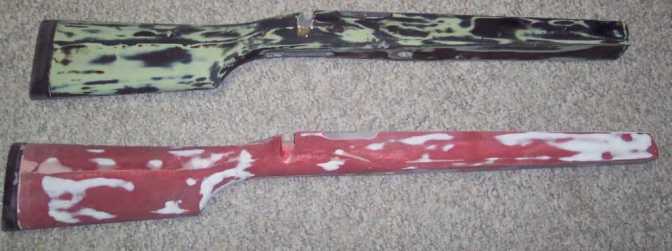
Red stock 1lb 15.9 oz
White stock 2lb 1.4 oz
Taped up for removal of old paint.

Red one 1lb 14.7 oz a loss of 1.2 oz
Top stock (was the White one) 2lb 0.3 oz a loss of 1.1
oz
Couple of hours later after a combination of lacquer thinner, razor blades, sand paper and elbow grease they have cleaned up nicely. No major work was done previously. A minimal amount of filler was used to clean up the parting lines so it will be pretty quick prep to get get these in primer. As you can see both of these started out as right bolt - right port. They are now both left port with the right ports filled in with epoxy.
The stock that was white had couple of layers of white paint and what looks to be black primer. That is what you see in image above. The red stock has remnants of white/gray primer. Most of this remaining primer will come off as the parting lines and pin holes are filled and sanded.
Use a sanding block to maintain straight lines and be careful not to round off corners. I very seldom use a electric/air sander and they can get you in trouble real fast.
I have 3.8 oz until the 10 lb limit on the originally white stock. The red stock has to weigh no more than what it started out as it is right at the limit. I was hoping to have a little extra to play with but will have to go with a fairly simple layout.
I don't use chemical stripper because it will attack the substrate making it a gooey mess.

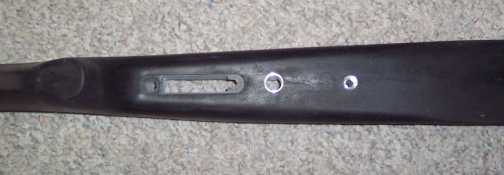
Here is the last stock I will describe. It started out
inletted for a RBRP Nesika but is now bedded for a Stiller Diamondback
RBLP Drop port.
It weighs in at 3 lb 2.4 oz. As it is destined
for a HV weight is not a concern.

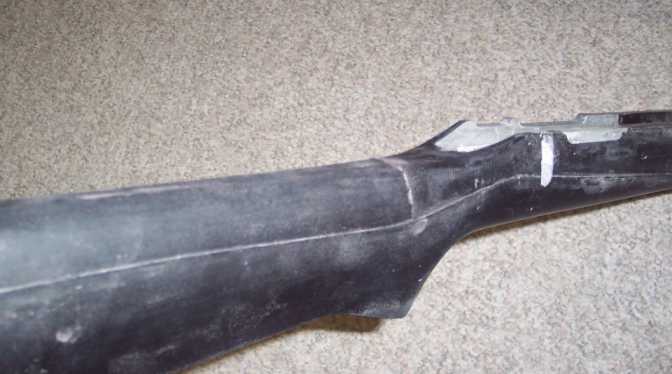
In this shot you can see the parting lines. The
parting line on the rear of this particular stock is off set 0.060".
This will be taken care of with filler and sanding.
