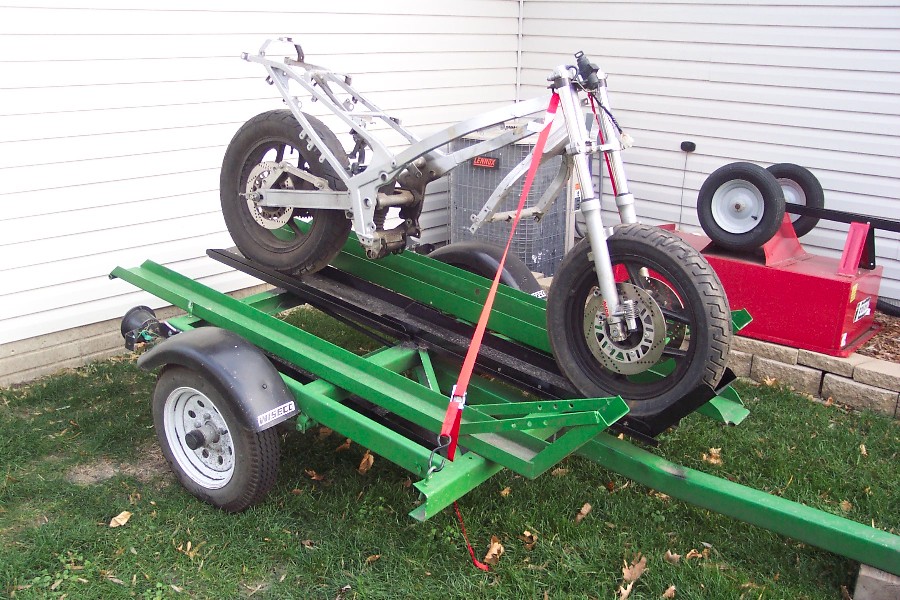
1986 Ninja ZX600
A
Impulsive purchase off Ebay. Was
not running and came
with an extra 1985 Ninja parts bike.
The parts bike was probably 75% complete.
Previous owner
stated he had carburetor problems and the bike would not run. Had
new tires and a stellar "rattle can" paint job.
Took me a little bit to figure
it our but
basically what looked like happened was a mis-match of carburetor
parts between the two bikes. Jets etc...
One set had a
dynojet kit and the
drilled out slides were matched up to
the stock jets and vice versa and the
pilot jets were open
but not fully. I used the pilot jets from the donor carbs.
A good soaking and cleaning of the passage ways had me on
the road. I
re-adjusted all the valves(they were
loose) and dropped the oil to make
sure it was ready.
Over the last couple of weeks I put on a couple of hundred
miles. Starts and runs great. Idles smooth at 1200 and no
hesitation. Coolant
temp also dropped after fixing the
lean condition. I think I am a little on the
rich side yet
but that is better than lean and it has no flat spots so I am
going to leave it.
After running it around for a
couple of weeks I was
confident enough to tackle the body.
I wanted to make sure it was reliable
mechanically before
I put much work into the cosmetics.
The
1985 parts bike plastics were better than what was on
it so I swapped them.
I also went with the 1985 paint
scheme.
The idea was to do this project
"on the
cheap" and I had the red, black, and silver so that helps. So far the
only thing I have bought was the oil and a new gallon of
Berryman's carb
cleaner. Once I get the final body work
done. I will work on dismantling and
selling off the parts
bike.
.JPG)
.JPG)
As Purchased (but now running)
.JPG)
Stripping off the body work
.JPG)
.JPG)
.JPG)
Base coat/Clear coat is used. Fairing mounting brackets are
metallic silver.
.JPG)
Side panels in
epoxy primer
.JPG)
Silver stripe painted
waiting to be reverse masked for the red and
black
.JPG)
Front fairing with the lower
red painted ready to be masked for
the upper
black.
.JPG)
.JPG)
Fairing installed
.JPG)
Side panels installed.
.JPG)
.JPG)
I have my own vinyl
cutter so I scanned the logo off the owners manual to
create the decals for the
fairing.
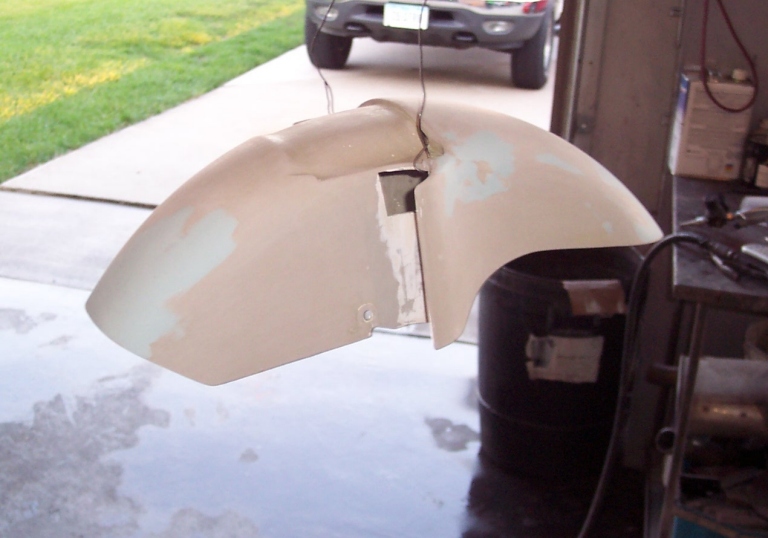
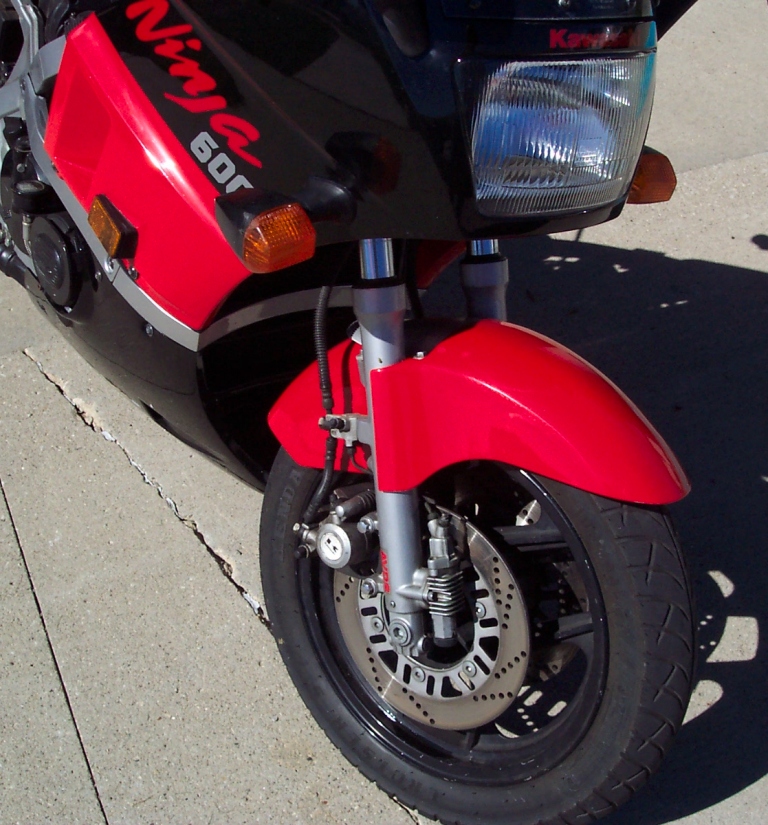
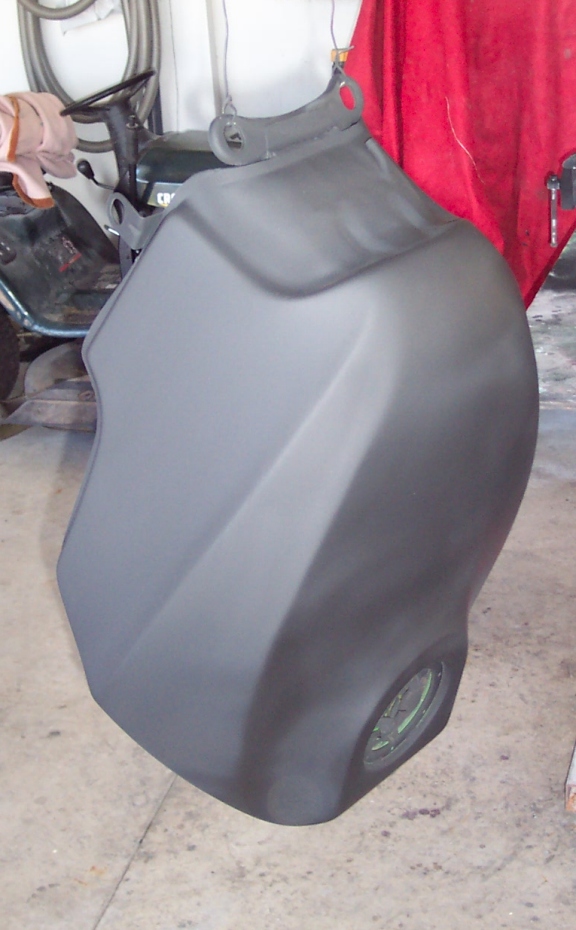
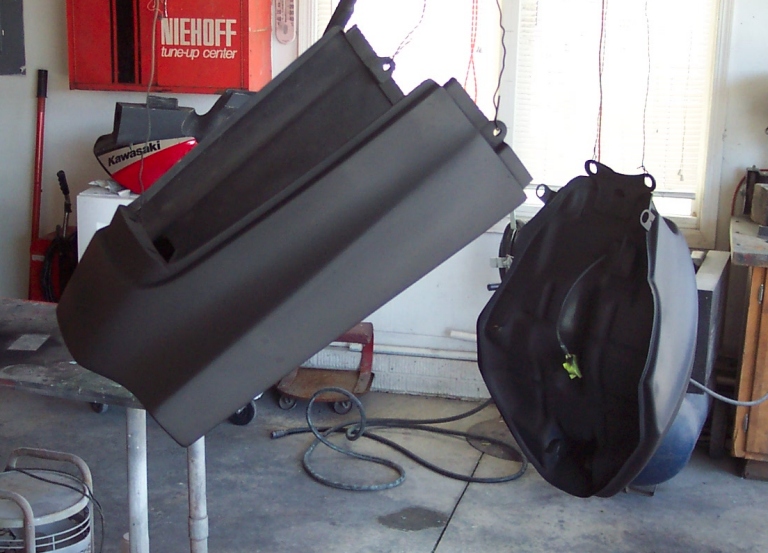
Black Primer
.JPG)
.JPG)
Silver Metallic for
the stripe
.JPG)
Tank and tail installed
to lay out
stripes
.JPG)
Tank strip laid
out and the tail is masked.
.JPG)
Tail after red, black and clear.
.JPG)
Tanks after red, black and
clear.
.JPG)
After all decals had been
cut and
applied.
.JPG)
.JPG)
.JPG)
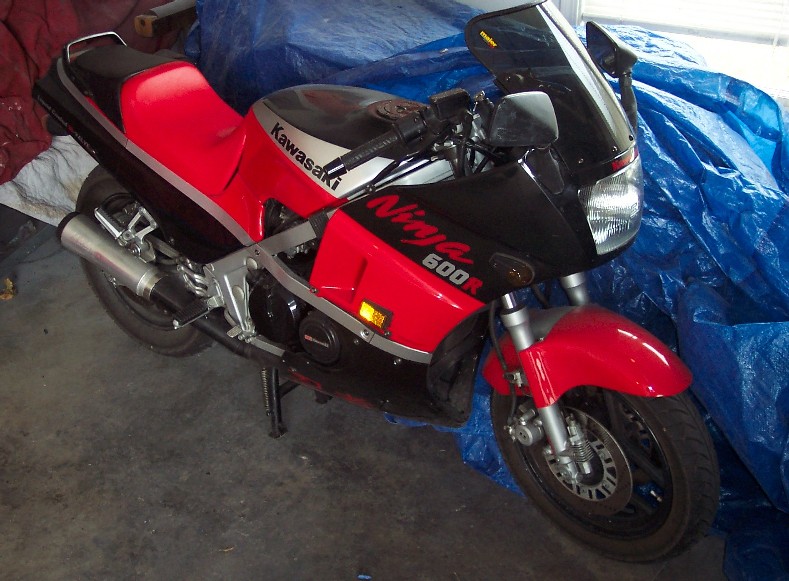
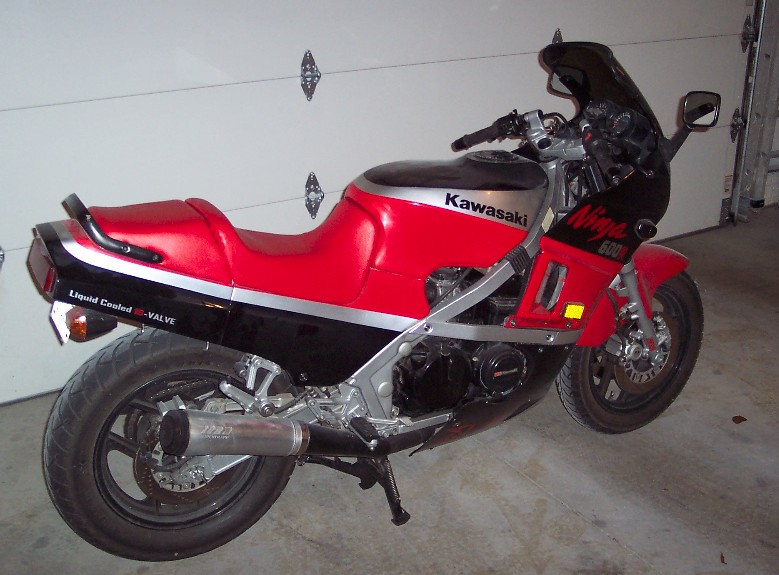
Here are some not so good
pictures with the
flushmount signals, smoked windscreen,
Kanji decals, and front seat recovered in
red. I have a
solo seat cowl I may use but I need to get the rear recovered
also.

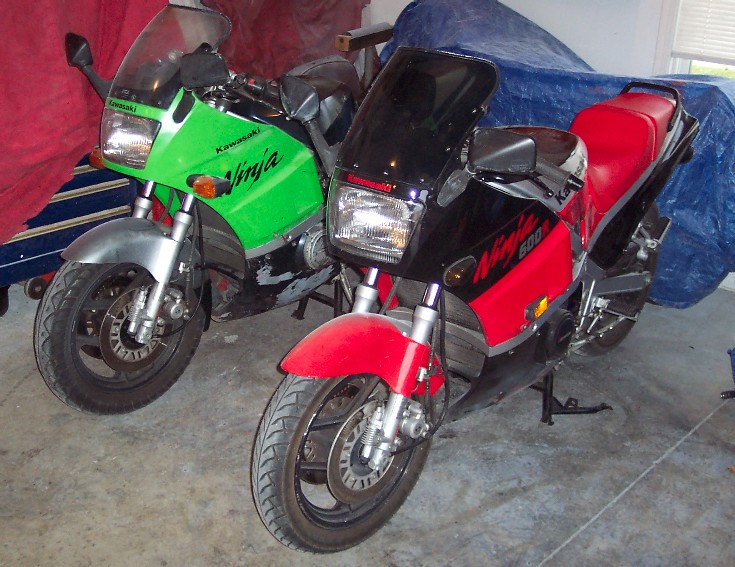
Here is the first one done sitting next to
the second project.
Check it out here>
Below is what is left of the parts
bike.
